Before getting started with this guide, please know that the following are required in order to connect you iHealth devices to ChronicCareIQ.
- Smart Phone
- iHealth Smart Glucometer
- Set Up ChronicCareIQ account
- Link iHealth to ChronicCareIQ
Download the Free iGluco App
Search for iGluco in the App Store and install the app.
Linking Your iHealth Glucometer
Before going further, please make sure you have your iHealth glucometer nearby.
- Launch the iGluco App.
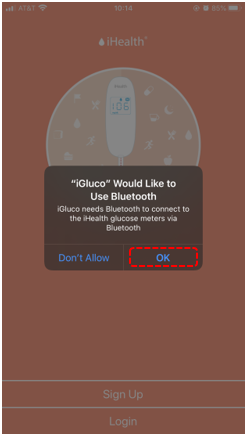
- Upon opening the app, you will be prompted to allow Bluetooth. Click OK.
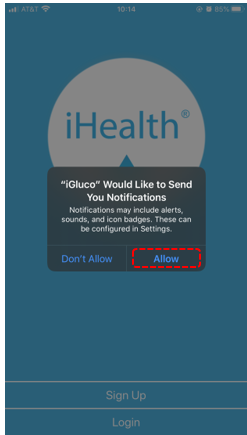
- Next, you will be prompted to allow notifications. Click Allow.
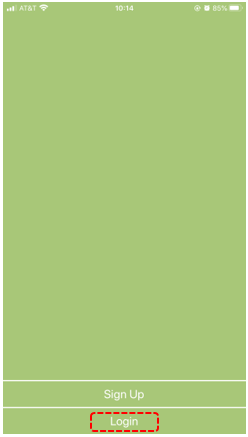
- You will now be given the option to either Sign Up or Login at the bottom of the screen. Click Login.
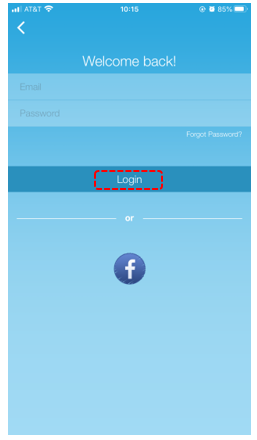
- Enter in the same credentials you use for your iHealth account, then click Login.
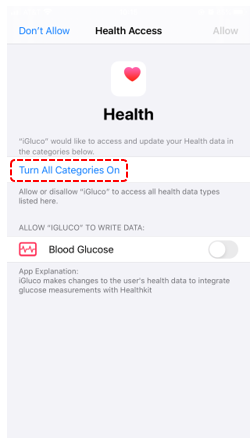
- In order for your iHealth device to track your vitals, you will need to give the iGluco app permission. Click Turn All Categories On.
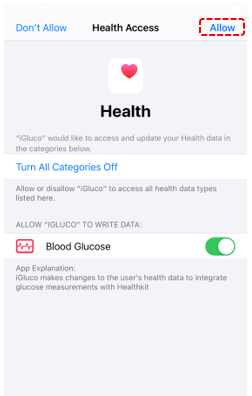
- Click Allow.
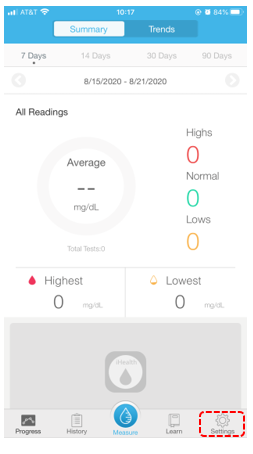
- You will now be shown your Progress tab. This tab will show you your previous readings. Click Settings at the bottom.
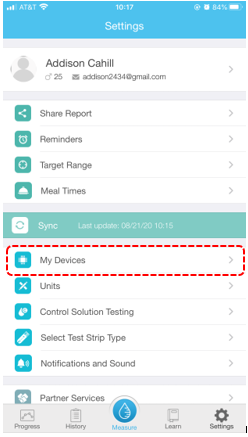
- Click My Devices.
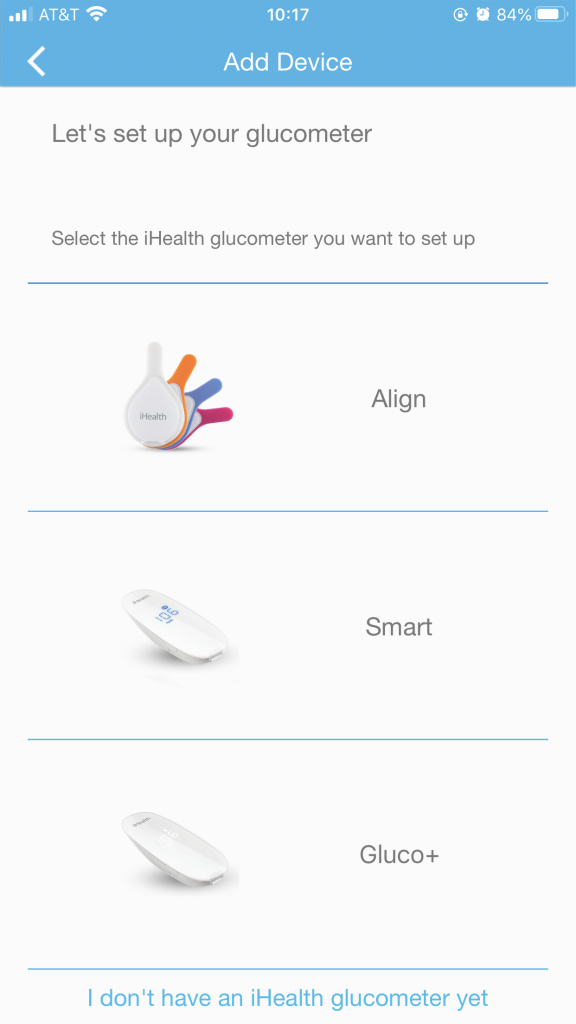
- Click on the glucometer that you have. If you are unsure, you can find the name of it on its box.
- Once you’ve clicked your device, your phone will begin to search for your glucometer. Please make sure that your Bluetooth is on.
- Eventually, your glucometer should appear and your screen should resemble the following.
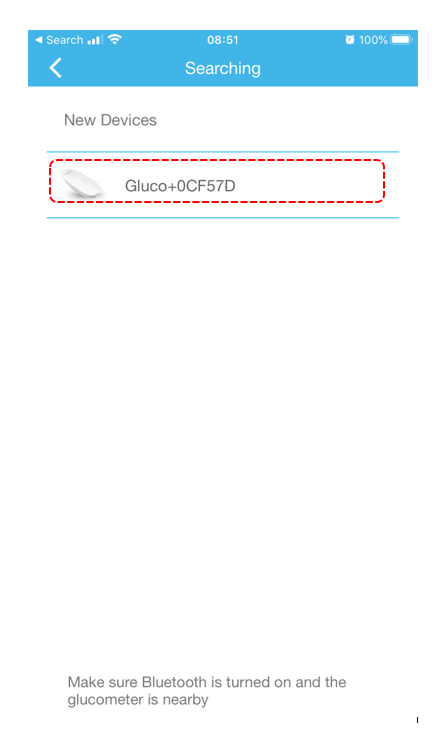
- To add your device, click on it.
- If you have successfully linked your glucometer, you will be shown a screen resembling the following.
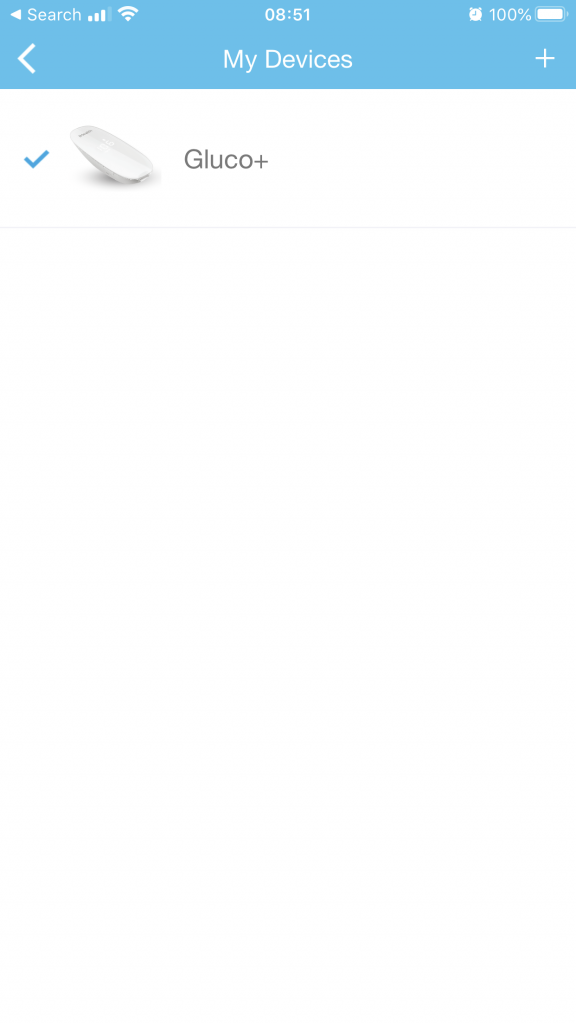
Congratulations, you have paired your iHealth Glucometer and are now ready to take readings!
What’s Next?
If you are ready to take your first reading with your iHealth Smart Glucometer, please refer to our guide below.