For more information about iHealth, please refer to their website.
Before getting started with this guide, please know that the following are required to be able to set up your iHealth device(s) with ChronicCareIQ:
- Smartphone (Android)
- iHealth Device
- CCIQ Account
Download the Free iHealth App
Search for iHealth in the Google Play Store and install the app.
Setting Up Your iHealth Account (Android)
Now that you have the iHealth app installed on your Android device, you’re ready to create your account!
- Launch the iHealth app.
- Upon opening the iHealth app, you will be shown the following screen.
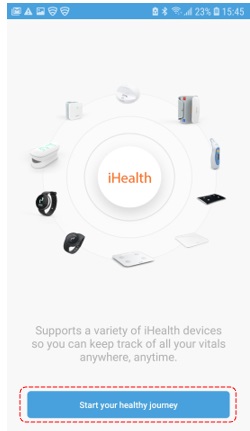
- Swipe left two times, until your see this screen.
- Click Start your healthy journey.
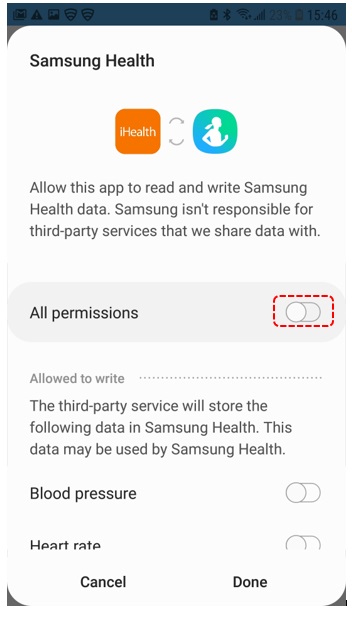
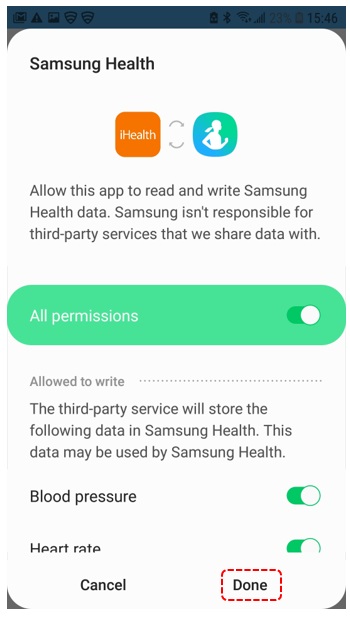
- In order for your iHealth device(s) to track your vitals , you will need to give the app permission. We recommended clicking the button next to All permissions.
- Click Done.
- Next you will need to create you iHealth account by click Create a new account.
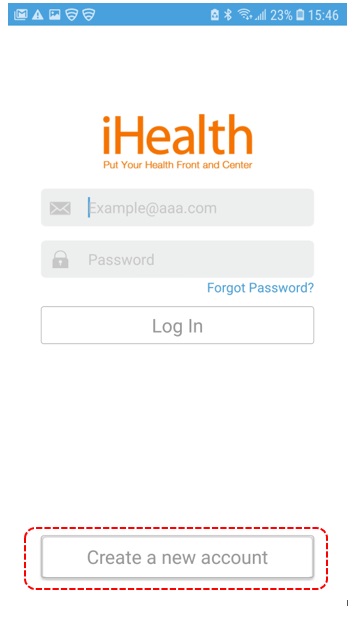
- Before you begin creating your iHealth account, you will be prompted to allow iHealth to take pictures and record videos. Click ALLOW.

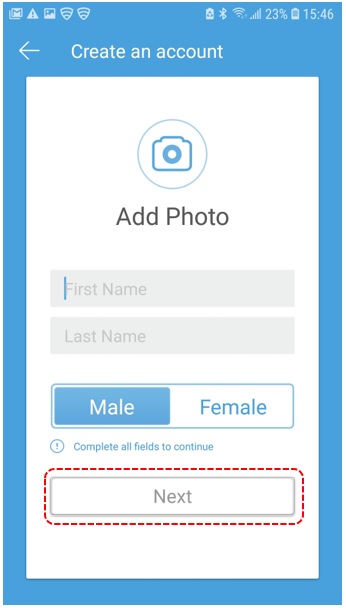
- Input your first and last name.
- Select your gender.
- Click Next.
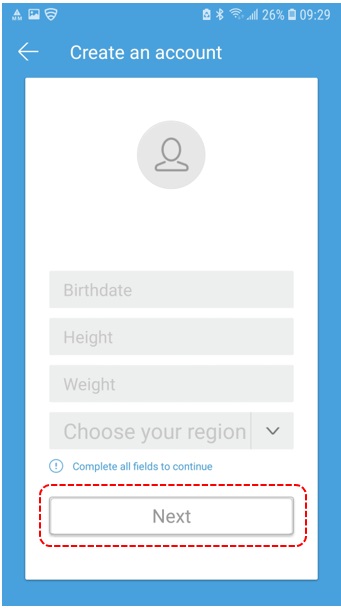
- Input your birthdate, height, weight, and region.
- Click Next.
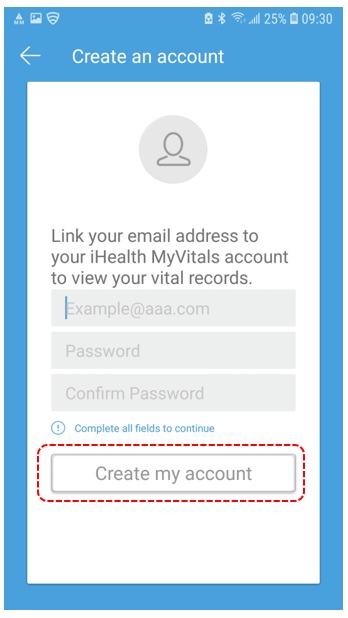
- Finally, input your email address, and your desired password twice. *We Recommend writing your password down somewhere for safe keeping.
- Click Create my account.
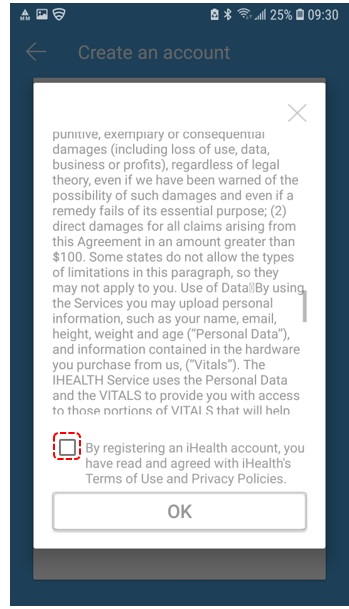
- You will now be shown the Terms and Agreements for using the iHealth app. Read to the bottom of the screen and then click the box labeled, “By registering an iHealth account, you have read and agreed with iHealth’s Terms of Use and Privacy Policies.
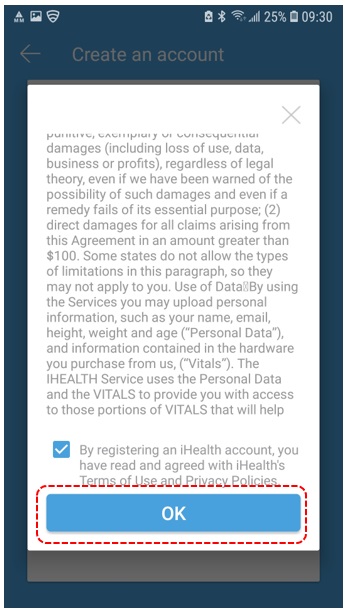
- Upon agreeing to the terms, you will be able to click OK.
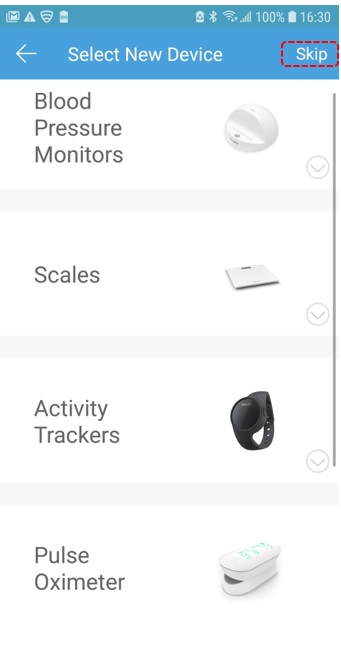
- After clicking Ok, you should be taken to a screen that resembles the following. Since adding a new device is not covered in this guide, you will need to click Skip.
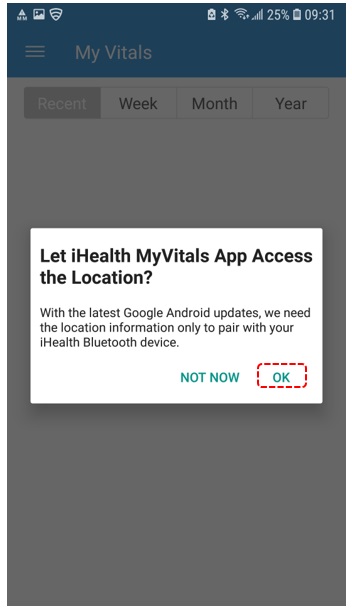
- You will be prompted to allow the iHealth app access to your location. Click OK.
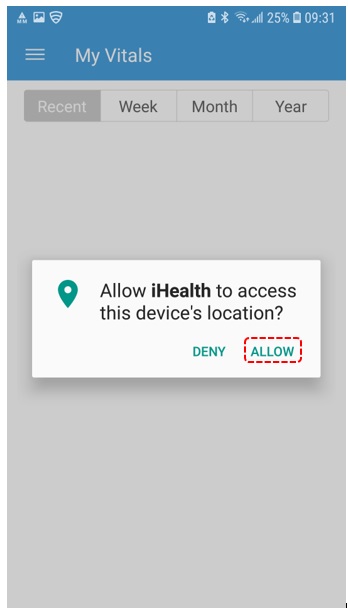
- Once more you will be prompted to allow iHealth access to your devices location, click Allow.
Congratulations, you have successfully created you iHealth account.
What’s Next?
Now that you have created your iHealth account, you will need to link it to your ChronicCareIQ account. Please see the following guide on how to do so: